Running deep learning workloads on AMD GPUs has become significantly more practical over the last couple of years. ROCm, which stands for Radeon Open Compute, is AMD’s open-source software platform that allows PyTorch and other frameworks to offload computation to AMD graphics hardware much like CUDA does for NVIDIA cards. Ubuntu 24.04 LTS is now the recommended base for ROCm 6.x deployments, and getting everything working cleanly requires following a specific sequence of steps. This guide covers the full installation of PyTorch on AMD ROCm (Ubuntu 24.04) from system preparation through verification, along with the most common errors people encounter and how to resolve them.
What You Need Before Starting Installing PyTorch on AMD ROCm (Ubuntu 24.04)
Not every AMD GPU supports ROCm. The officially supported consumer cards at the time of writing include the RX 6700 XT, RX 6800, RX 6800 XT, RX 6900 XT, RX 7800 XT, RX 7900 XTX, and most of the Radeon Pro and Instinct series. If your card is not on the official support list, you can still attempt installation using the HSA_OVERRIDE_GFX_VERSION environment variable trick covered later in this article, but results vary.
Your system should be running a clean Ubuntu 24.04 installation with the default kernel. You will need at least 20 GB of free disk space because the ROCm stack and PyTorch together are quite large. Root or sudo access is required throughout the process. If you are using a desktop environment, make sure the system is not relying on the GPU for display rendering through the amdgpu driver in a way that conflicts with compute access, though on most desktop setups this is not an issue.
Step One: Preparing the System
Start by updating your system fully and installing the prerequisites that the ROCm installer depends on.
sudo apt update && sudo apt upgrade -y
sudo apt install -y wget gnupg2 ca-certificates lsb-release software-properties-common python3-pip python3-venv
Next you need to add your user to the render and video groups. This is a step that many guides skip, and it causes permission errors later when trying to access the GPU from a non-root user account.
sudo usermod -aG render,video $USERLog out and log back in after running this command, or the group changes will not take effect in your current session. You can verify the groups with the groups command after re-logging.
Step Two: Installing the ROCm Stack
AMD provides an installation script that handles repository configuration automatically. Download and run it with the following commands.
wget https://repo.radeon.com/amdgpu-install/6.2.2/ubuntu/noble/amdgpu-install_6.2.2.60202-1_all.deb
sudo dpkg -i amdgpu-install_6.2.2.60202-1_all.deb
sudo apt update
The version number in the URL above corresponds to ROCm 6.2.2 targeting Ubuntu 24.04 (code name Noble Numbat). Check the AMD ROCm documentation for the latest release if you want a newer version. Once the repository is configured, install the ROCm components using the usecase flag.
sudo amdgpu-install --usecase=rocm --no-dkmsThe --no-dkms flag skips kernel module compilation against DKMS, which is often unnecessary on Ubuntu 24.04 since the mainline kernel includes amdgpu support. If you are installing on a system where you need the full kernel driver rebuild, omit that flag. The installation will take several minutes and download a significant amount of data.
After installation completes, reboot your system.
sudo rebootStep Three: Verifying ROCm Before Installing PyTorch
After rebooting, confirm that ROCm can see your GPU before installing PyTorch. Running PyTorch installation troubleshooting without first confirming that ROCm itself is functional wastes a lot of time.
rocminfoThis should output a list of agents that includes your CPU and one or more GPU entries. Look for a section showing your GPU name, its gfx architecture string (something like gfx1030 or gfx1100), and a list of supported features. If rocminfo returns nothing or throws an error, ROCm is not properly installed and you should revisit the previous step before continuing.
Also run the following to check the HIP runtime version.
hipconfig --versionStep Four: Setting Up a Python Environment
Installing PyTorch into a virtual environment keeps your system Python clean and avoids package conflicts. Create and activate a venv before proceeding.
python3 -m venv ~/rocm-torch-env
source ~/rocm-torch-env/bin/activate
Update pip inside the environment before installing anything else.
pip install --upgrade pipStep Five: Installing PyTorch with ROCm Support
PyTorch provides pre-built ROCm wheels through its official installer. The key is to use the correct index URL that points to the ROCm-enabled builds rather than the default CPU-only or CUDA builds.
pip install torch torchvision torchaudio --index-url https://download.pytorch.org/whl/rocm6.1If you are using ROCm 6.2 specifically, check the PyTorch website for the matching wheel index, as the suffix in the URL changes with each ROCm version. The download is large, typically over 2 GB for torch alone, so allow enough time depending on your connection speed.
Step Six: Verifying the PyTorch Installation
Once installation finishes, run a quick verification inside Python.
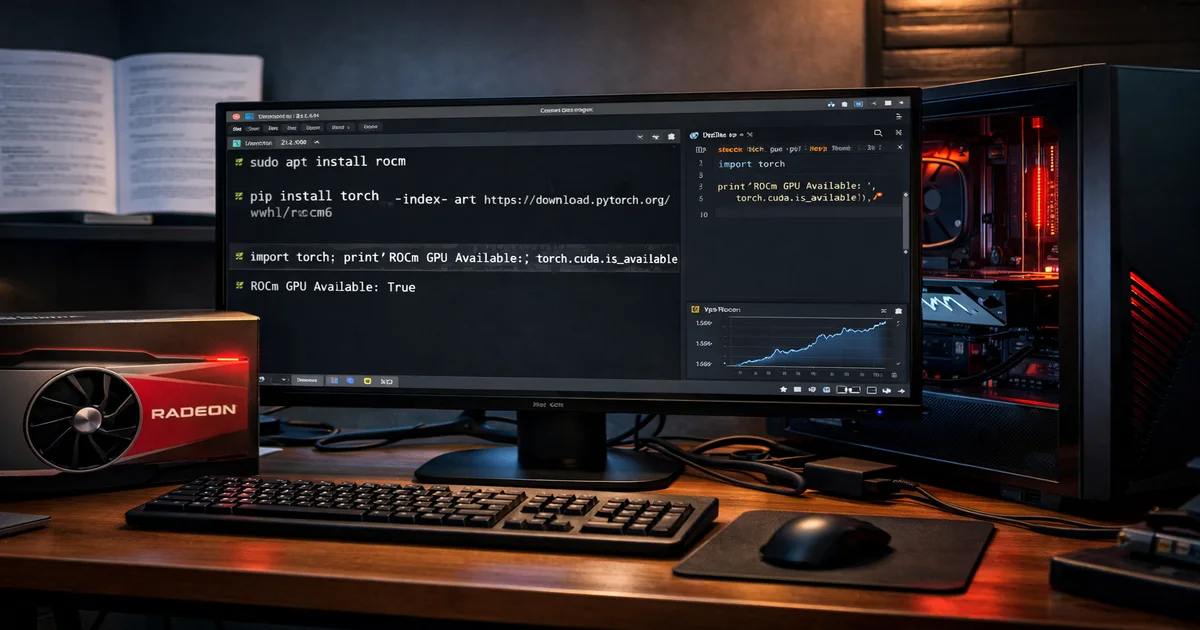
python3 -c "import torch; print(torch.__version__); print(torch.cuda.is_available()); print(torch.cuda.get_device_name(0))"You will notice that PyTorch on ROCm uses the CUDA namespace even on AMD hardware. This is intentional. The HIP runtime translates CUDA API calls into AMD GPU instructions, so torch.cuda.is_available() returning True means your AMD GPU is accessible. The device name output will show your actual AMD GPU model. If is_available() returns False, proceed to the troubleshooting section below.
Common Fixes for ROCm and PyTorch Issues
GPU Not Detected After Installation
If rocminfo runs without errors but PyTorch cannot find the GPU, the most common cause is the user group permissions not having taken effect. Confirm your user is in both the render and video groups with groups and log out and back in completely, not just a terminal restart. On some systems you may need a full reboot rather than a re-login for group changes to propagate.
Unsupported GPU Architecture Override
If you have an AMD GPU that is not on the official ROCm support list but uses an architecture that is close to a supported one, you can try overriding the gfx version detection. For example, an RX 6600 XT uses gfx1032, which is not officially listed, but gfx1030 is supported. Set the following environment variable before launching Python or your training script.
export HSA_OVERRIDE_GFX_VERSION=10.3.0Add this to your ~/.bashrc or the activation script of your virtual environment to make it persistent. The numbers correspond to the major, minor, and stepping of the gfx version of the supported card you are targeting. Check the ROCm GPU compatibility table to find the closest supported architecture to yours.
libamdhip64.so Not Found
This error typically appears when the ROCm library path is not in the linker search path. Add the ROCm library directory to your LD_LIBRARY_PATH.
export LD_LIBRARY_PATH=/opt/rocm/lib:$LD_LIBRARY_PATHROCm installs its libraries to /opt/rocm by default on Ubuntu. If your installation used a different prefix, adjust the path accordingly. Adding this export to ~/.bashrc ensures it is set on every session.
Out of Memory Errors on Smaller GPUs
ROCm tends to be less aggressive about memory pooling than CUDA, and some workloads that run within VRAM limits on NVIDIA hardware may exceed them on equivalent AMD hardware. Setting the following environment variable instructs the ROCm memory allocator to use a more conservative strategy that can reduce peak VRAM usage at a slight performance cost.
export PYTORCH_HIP_ALLOC_CONF=garbage_collection_threshold:0.8,max_split_size_mb:128Slow Performance Compared to Expected Benchmarks
If PyTorch runs but performance is far below what you would expect, check whether the MIOpen kernel cache has been populated. MIOpen, which is AMD’s equivalent of NVIDIA’s cuDNN, compiles optimized kernels for your specific GPU on first run, and this compilation can take several minutes. The first time you run a model with convolutions or attention operations, expect a longer startup time while the cache is built. Subsequent runs will be significantly faster once the cache is warm.
Also confirm that you are not accidentally running on CPU. A quick print(next(model.parameters()).device) after moving your model to GPU will confirm the tensor device.
Multiple GPU Systems and Device Selection
On systems with multiple AMD GPUs or a combination of AMD and Intel integrated graphics, ROCm may enumerate devices in an unexpected order. Use the ROCR_VISIBLE_DEVICES environment variable to restrict which GPUs are visible to your process, similar to CUDA_VISIBLE_DEVICES on NVIDIA setups.
export ROCR_VISIBLE_DEVICES=0Run rocminfo beforehand to confirm the device index of the GPU you want to use.
Final Notes
The ROCm ecosystem has matured considerably and most standard PyTorch operations work correctly on supported AMD hardware. The areas where you are most likely to encounter gaps are custom CUDA extensions written by third parties, some flash attention implementations, and certain quantization libraries that have not yet added HIP support. For these cases, check whether the library offers a ROCm branch or whether there is a community fork with AMD support before assuming the feature is unavailable. The situation improves with each ROCm release cycle, and AMD has been actively contributing upstream support for popular libraries.
Also Read this Related Article: ROCm vs CUDA comparison