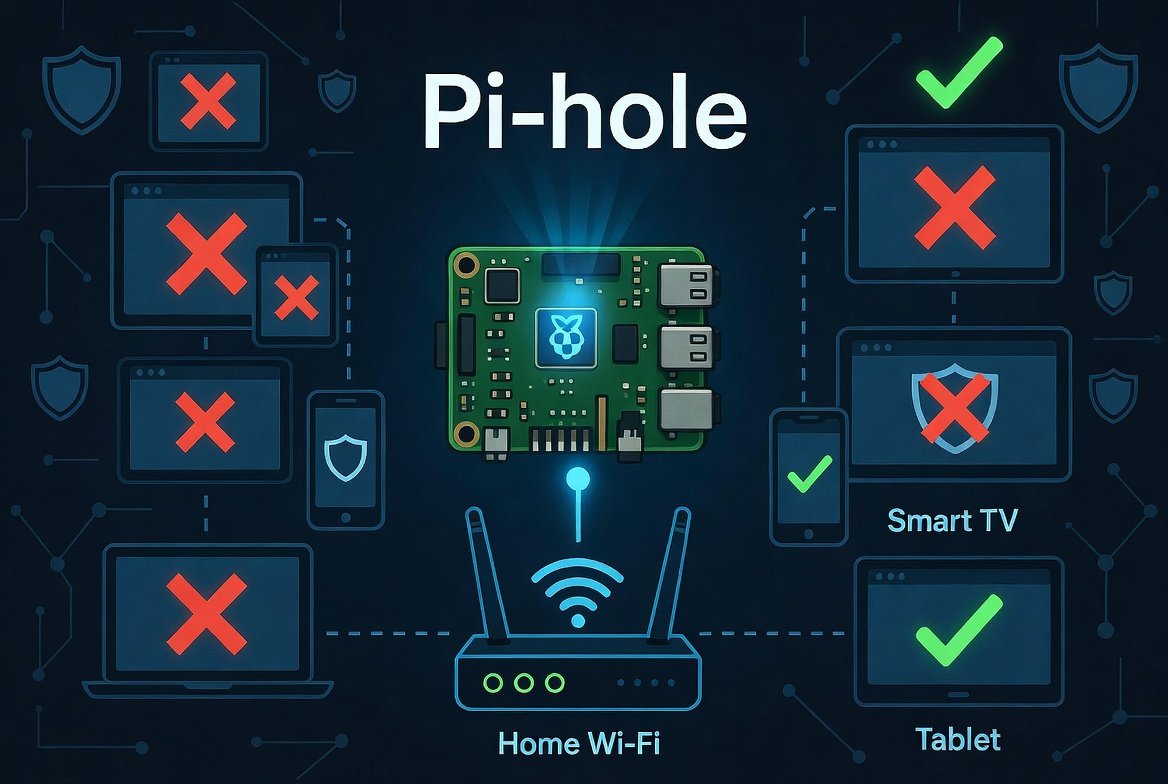
Advertisements and tracking scripts have become a standard part of browsing the internet, and they appear not just on websites but inside mobile apps, smart TV interfaces, and connected home devices. Browser-based ad blockers help on individual computers, but they do nothing for your phone, your television, or any other device on your home network. Pi-hole solves this at the network level, blocking ads and trackers for every device connected to your router without installing anything on each one individually.
Pi-hole works as a DNS sinkhole. When any device on your network requests the address of an advertising or tracking domain, Pi hole simply tells it that the domain does not exist. The request stops there, before anything loads. It is free, open-source, and community-driven, supports both IPv4 and IPv6, caches DNS queries for faster resolution, and includes an optional built-in DHCP server.
What You Need Before Starting the Setup of Pi-Hole
Hardware Requirements
Pi-hole runs on very modest hardware. The most common setup is a Raspberry Pi, but it also runs on any Linux machine, a virtual machine, or inside a Docker container.
A Raspberry Pi Model B or later with a minimum of 2GB of free storage and 512MB of RAM is sufficient. A Raspberry Pi Zero 2 W is the most cost-effective dedicated option. A Raspberry Pi 3, 4, or 5 all work well and give extra headroom if you plan to run other services alongside it.
You will also need a microSD card of at least 8GB, a power supply for the Pi, and a wired Ethernet connection. While Wi-Fi works, a wired connection is more reliable for a device acting as your network’s DNS server.
Software Requirements
Install Raspberry Pi OS Lite (64-bit) on your microSD card using the Raspberry Pi Imager. The Lite version without a desktop environment is the right choice for a server running continuously. During the Imager setup, enable SSH, set a username and password, and configure your Wi-Fi credentials if you are not using Ethernet. This lets you manage the Pi remotely from your main computer without needing a monitor or keyboard attached.
Current Version of Pi-hole
As of early 2026, the latest stable releases are Pi-hole Core v6.0 and above. Always check the official GitHub releases page before installing to confirm the most current version.
Setting a Static IP Address
Pi-hole must have a fixed IP address on your network. If its address changes, devices lose their DNS server and lose internet access. There are two ways to handle this.
The cleaner method is a DHCP reservation in your router settings. Log into your router admin panel (usually at 192.168.1.1 or 192.168.0.1), find the DHCP or LAN settings, and assign a fixed IP address to your Pi based on its MAC address. The Pi keeps the same IP permanently without any changes to the Pi itself.
The alternative is setting a static IP directly on the Pi. Edit the network configuration file:
sudo nano /etc/dhcpcd.conf
Add these lines at the bottom, adjusting the IP addresses to match your network:
interface eth0
static ip_address=192.168.1.100/24
static routers=192.168.1.1
static domain_name_servers=8.8.8.8 8.8.4.4
Save the file and reboot with sudo reboot. Verify the address with hostname -I after it restarts.
Installing Pi-hole
With a static IP set and your system updated, installing Pi-hole takes one command. First update your packages:
sudo apt update && sudo apt full-upgrade -y
Then run the Pi-hole installer:
curl -sSL https://install.pi-hole.net | bash
Before running this command, you can review the script contents by visiting https://install.pi-hole.net in a browser, as piping directly to bash runs code without prior inspection. If you prefer, the Pi-hole documentation lists alternative installation methods that do not use this approach.
Walking Through the Installer
The installer presents a series of screens. Most defaults are sensible for beginners. Key decisions to make:
Network interface: Select eth0 for wired Ethernet or wlan0 for Wi-Fi.
Upstream DNS provider: This is the DNS server Pi-hole forwards non-blocked requests to. Cloudflare (1.1.1.1) and Google (8.8.8.8) are popular choices for speed. If privacy is a priority, consider selecting Quad9 (9.9.9.9), which blocks known malicious domains and does not log your queries.
Blocklist: The installer offers the Steven Black unified hosts list as a default. This is a reliable community-maintained list that combines multiple ad, tracker, and malware lists into one. Accept it for now. You can add more lists later.
Admin web interface: Select yes. This gives you the dashboard for monitoring and managing Pi-hole.
At the end of installation, Pi-hole displays an admin password. Save it immediately. You need it to log into the web dashboard. If you lose it, reset it later with:
pihole -a -p yournewpassword
Pointing Your Network to Pi-hole
Installing Pi-hole does not automatically make your network use it. You need to tell your router to direct DNS queries through this tool.
Router-Level Setup (Recommended)
Log into your router admin panel and find the DNS settings. These are usually under WAN settings, Internet settings, or DHCP server settings depending on your router brand. Replace the existing DNS server address with your Pi-hole’s static IP address. Save and apply.
This single change routes DNS queries from every device on your network through Pi-hole automatically, including phones, smart TVs, game consoles, and IoT devices, without touching each one individually.
Per-Device Setup (Testing Only)
As a temporary method for testing, you can manually set the DNS server on a single device to your Pi-hole IP. This is useful for confirming Pi-hole works before applying it network-wide, but it is not a practical long-term approach since you would need to repeat it for every device.
Accessing the Dashboard
Open a browser on any device on your network and go to:
http://your-pi-ip/admin
Log in with the password saved during installation. The dashboard shows queries blocked, total queries handled, the top blocked domains, and which devices are making the most requests. A rising “Queries Blocked” counter confirms it is working.
Adding Better Blocklists
The default blocklist is a reasonable starting point, but adding more lists significantly improves coverage. Log into the Pi-hole admin interface, go to Lists, paste in a blocklist URL, click Add blocklist, then either run pihole -g in the terminal or go to the Gravity page in the dashboard and click Update.
Reliable blocklists for 2026:
| Blocklist | URL | Best For |
|---|---|---|
| OISD Full | https://dbl.oisd.nl/ | Comprehensive, low false positives |
| Steven Black | https://raw.githubusercontent.com/StevenBlack/hosts/master/hosts | Ads and malware combined |
| The Block List Project (Ads) | https://blocklistproject.github.io/Lists/ads.txt | Ad-focused blocking |
| The Block List Project (Tracking) | https://blocklistproject.github.io/Lists/tracking.txt | Tracker blocking |
| The Block List Project (Malware) | https://blocklistproject.github.io/Lists/malware.txt | Malicious domain blocking |
| NoTracking | https://raw.githubusercontent.com/notracking/hosts-blocklists/master/hostnames.txt | Privacy-focused |
Start with OISD and Steven Black. OISD is considered one of the best all-around lists available in 2026, offering good protection including malicious top-level domains and pop-up ads while keeping false positives rare. Add the malware list regardless of which others you choose.
Handling False Positives (Whitelisting)
Occasionally Pi-hole blocks something it should not. A website breaks, a login fails, or an app stops working. This is a false positive, and the fix is whitelisting the affected domain.
In the dashboard, go to Domains and add the domain to the Allow list. If you are not sure which domain is being blocked, check the Query Log in the dashboard. Filter by your device’s IP address around the time the issue occurred and look for blocked entries that correspond to what you were trying to do.
Common legitimate services that get caught by aggressive lists include CDN domains used by streaming services and login or authentication endpoints. Whitelisting specific domains rather than disabling it entirely is always the better approach.
Keeping Pi-hole Updated
Update Pi-hole with pihole -up and keep the underlying OS updated separately with sudo apt update && sudo apt upgrade. Update blocklists manually with pihole -g or let the automatic weekly update handle it.
Set up automatic OS security updates:
sudo apt install unattended-upgrades -y
sudo dpkg-reconfigure unattended-upgrades
This applies security patches to the OS automatically without manual intervention.
What Pi-hole Does and Does Not Do
Pi-hole blocks ads and reduces tracking, but it does not provide anonymity. Your ISP still sees which sites you visit. Websites still see your IP address. For anonymity, a VPN or Tor is needed. Pi-hole is about blocking annoyances and reducing tracking exposure, not hiding your identity.
Pi-hole also does not block ads inside YouTube videos or Spotify, because those ads are served from the same domains as the actual content. Blocking those domains would break the services entirely. For YouTube ad blocking specifically, browser extensions remain necessary.
It also does not protect devices outside your home network. Your phone on mobile data bypasses Pi-hole entirely. Combining this software tool with a WireGuard VPN on the same device and connecting your phone to the VPN when on mobile extends the coverage, but that is a separate project beyond basic setup.
Within those limits, Pi-hole is one of the most effective tools available for improving the privacy and cleanliness of a home network. A typical home setup blocks between 15 and 30 percent of all DNS queries, most of which are advertising and tracking requests that devices were making silently in the background without any visible benefit to the user.
Also read this comparison: OpenVINO vs TensorRT